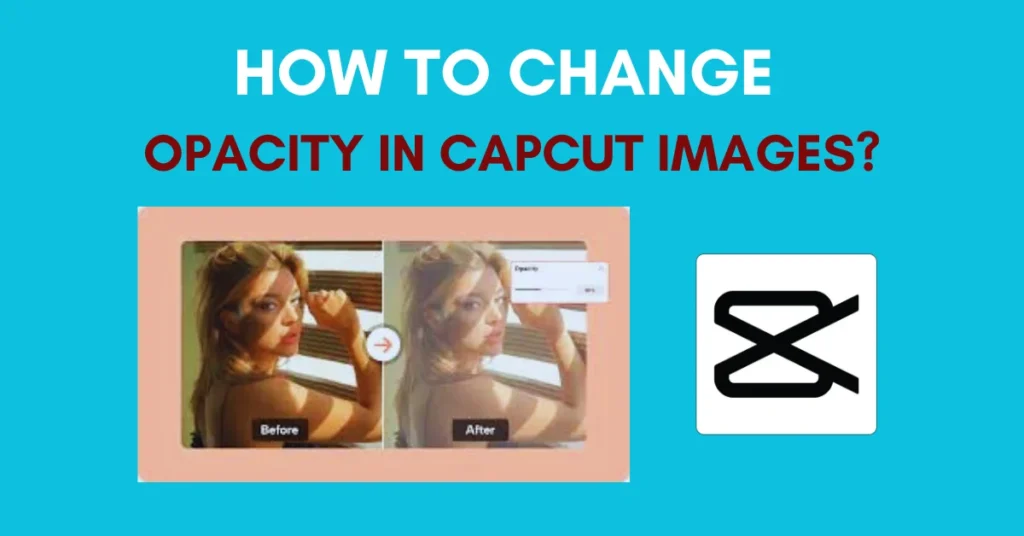
How To Change Opacity In CapCut Images? Easy Guide for Stunning Visuals In 2026
Opacity In CapCut Images is something many beginners notice but don’t fully understand at first. Honestly, when you add images to a video, they often look too strong or too sharp. That’s where opacity helps. It lets you control how light or transparent an image looks on the screen.
Opacity In CapCut Images is useful when you want images to blend smoothly with your video. For example, logos, stickers, or background images look better when they are not too bold. Well, small opacity changes can make a big difference in how professional your video feels.
CapCut Pro works on mobile and desktop. The process is simple, though the layout changes. Once you know where opacity is, editing feels smooth. This guide explains everything in clear and simple words.
What Is Opacity In CapCut Images?
Opacity shows how strong or faded an image feels. Full value keeps it solid. Lower values make it mix into the background. That’s the whole idea.
In CapCut, opacity works on image layers. This means you can place an image above your video and then adjust how strong it looks. People sometimes mistake opacity for filters or blur. In fact, opacity only manages transparency.
You often find opacity in watermark and overlay effects. With the basic idea clear, it no longer feels confusing.
Why You Need To Change Opacity In CapCut Images?
Adjusting opacity helps images fit naturally into your video. Without it, logos and PNG images can look awkward. Opacity also helps guide the viewer’s attention. When the background image is soft, the main subject stands out more. This is great for tutorials and stories.
Well, minor adjustments really help. Even a small drop in opacity can improve the final look. This is why the feature is useful.
Things To Know Before Changing Opacity
Before you adjust opacity, place the image on the right layer. If it’s under the video, the change won’t appear clearly. Also, check the image quality. Low-quality images often look worse when opacity is lowered. Clear and sharp images work best.
Finally, think about your device performance. Older phones may slow down with many opacity layers. Keeping things simple helps.
How To Change Opacity In CapCut Images on Android?
To adjust opacity on Android, open your project and add the image to the timeline. Tap on the image layer. Look through the bottom menu and find the opacity option. Slide it to adjust the look in real time.
CapCut for Android runs this smoothly. Preview the video before export to check the result.
How To Change Opacity In CapCut Images on iOS?
On iOS, the steps are almost the same. Add your image, tap on it, and look for the opacity control in the editing menu. The interface feels cleaner on iPhone, honestly. The slider responds smoothly, which makes fine adjustments easy.
This feature works well on CapCut for iOS, especially for reels and short videos where image balance matters a lot.
How To Change Opacity In CapCut Images on PC?
Desktop users get more control. On PC, select the image layer in the timeline. Then look at the right-side panel for opacity settings. You can drag the slider or type a value for more precision. This helps when you want exact results.
Editing on CapCut for PC feels more professional, especially for longer videos or detailed projects.
How To Change Opacity In CapCut Images on Mac?
On Mac, the layout is similar to PC. Select the image, open the editing panel, and adjust opacity using the slider. Mac devices handle layers smoothly, even with multiple images. This makes creative overlays easier.
If you edit often, CapCut for Mac gives a stable and clean experience for opacity control.
Using Opacity With Multiple Image Layers
When you stack multiple images, opacity becomes very powerful. Each layer may have a different level of transparency. You can for example place a texture at low opacity and a logo at medium opacity.
This technique is used by professional editors. Once you’ve tried it, it looks complicated but is actually very simple.
Opacity In CapCut Images for Watermarks
Watermarks should be visible but not annoying. Opacity helps achieve that balance. Watermarks with 20-30% opacity are usually effective. Protect your content without blocking views.
This is useful for creators who share content online and want light branding without distraction.
Opacity In CapCut Images for Creative Effects
Opacity is not just technical. It’s creative too. You can create soft fade effects or dreamy overlays. Lower opacity images can set mood. For example, a light texture can add warmth or emotion.
Well, this is where editing becomes fun. Small opacity changes can change the story feel.
Does CapCut Pro Improve Opacity Control?
CapCut Pro APK does not change how opacity works, but it improves overall quality. You get better export options and cleaner output. Pro users also enjoy smoother performance, especially with multiple layers. This helps when using opacity often.
If you edit daily, Pro feels more comfortable, but free users still get full opacity control.
Using CapCut Mod or APK for Opacity Features
Some people try CapCut Mod APK or CapCut Pro APK hoping for extra features. Honestly, opacity is already available for free. Mods can cause crashes or security risks. They don’t improve opacity in a meaningful way.
It’s safer to stick with the official app and update it regularly.
CapCut Old Version vs Latest Version for Opacity
Using CapCut Old Version may limit features or cause bugs. Opacity controls may feel less smooth. The latest version improves performance and stability. This matters when working with layered images.
Using CapCut Pro APK Download Latest Version from official sources ensures better results.
Common Problems While Changing Opacity
Sometimes the opacity option doesn’t show. This usually happens when the wrong layer is selected. Other times, changes look fine in preview but odd after export. This is often due to low resolution settings.
Lag or freezing may happen on older devices with many layers.
How To Fix Opacity Issues In CapCut?
First, reselect the image layer and try again. Make sure you are not editing the main video layer. Clear cache if the app feels slow. Updating CapCut also fixes many bugs.
If issues continue, reinstall the app, but back up projects first.
Best Tips For Using Opacity Like a Pro
Avoid extreme transparency unless needed. Stay between 20 and 80 percent for most images. Combine opacity with animation for smooth entry effects. This looks clean and modern.
Always preview on full screen before exporting. What looks fine small may feel strong on big screens.
Conclusion
Opacity In CapCut Images is a small feature with big impact. It helps images blend smoothly and makes videos look balanced. Once you learn transparency, editing feels easier and more fun. The method works the same on phones and computers, without complex skills. It’s not necessary to have advanced skills. Just a good eye, and some practice will do.
Truthfully, the more experiments you do, the better results you get. Opacity In CapCut Images gives you control, so use it and improve your edits step by step.
FAQs
Where is opacity option in CapCut?
Tap on the image layer and scroll the editing menu. The opacity slider appears there.
What is the best opacity value for images?
For most cases, 30 to 70 percent works well, depending on image type.
Can I animate opacity in CapCut?
Yes, you can combine opacity with keyframes for fade effects.
Does opacity affect video quality?
No, opacity only changes transparency, not resolution or sharpness.
Is opacity available in free CapCut?
Yes, opacity control is fully available in the free version.
Why opacity option is missing?
You may have selected the wrong layer. Tap the image layer again.